一、模块来源
二、规格参数
工作电压:5-7V
消耗电流:最大20mA
最小粒子检出值:0.8微米
灵敏度:0.5V(0.1mg/m3)
清洁空气中电压:0.9V (典型)
重量:15g
尺寸大小:46x30x17.6mm
以上信息见厂家资料文件
三、移植过程
我们的目标是将例程移植至开发板上【能够判断粉尘浓度的功能】。首先要获取资料,查看数据手册应如何实现读取数据,再移植至我们的工程。
1、查看资料
GP2Y1014AU粉尘传感器在其中间有一个洞,空气可以自由流通,传感器内部邻角位置安装有红外发光二极管和光电晶体管,红外发光二极管定向发送红外光,当空气中有颗粒物阻碍红外线时,红外线发生漫反射,光电晶体管接收到红外光线,信号输出引脚电压会随之发生变化。该电压值在一定范围内与灰尘浓度成线性关系,因此在使用过程中,需要使用 ADC 采集该电压信号,并通过该电压值计算出空气中的灰尘浓度。
2、引脚选择
当前只有VO引脚需要使用到ADC接口,这里选择使用GPIO-A6的附加ADC功能。
| 蓝线 | 3V3 |
| 绿线 | GND |
| LED-白线 | GPIO54 |
| 黄线 | GND |
| VO-黑线 | GPIO-A6 |
| 红线 | 5V0 |
接下来我们配置 SYSCONFIG
- 双击 c2000.syscfg 文件,打开它。
- 点击 ADD 添加配置
- 配置
- 点击ADD添加GPIO配置
- 配置GPIO
Ctrl + S保存配置文件Ctrl + B构建工一次工程(可能会报错,我们不用管!)然后我们所有设定的引脚和功能就会在 board.h 中定义。因为这个文件我们包含进了 tjx_init.h 所以我们只需要引用 tjx_init.h 即可。【这里的 tjx_init.h 就充当了芯片头文件的作用】
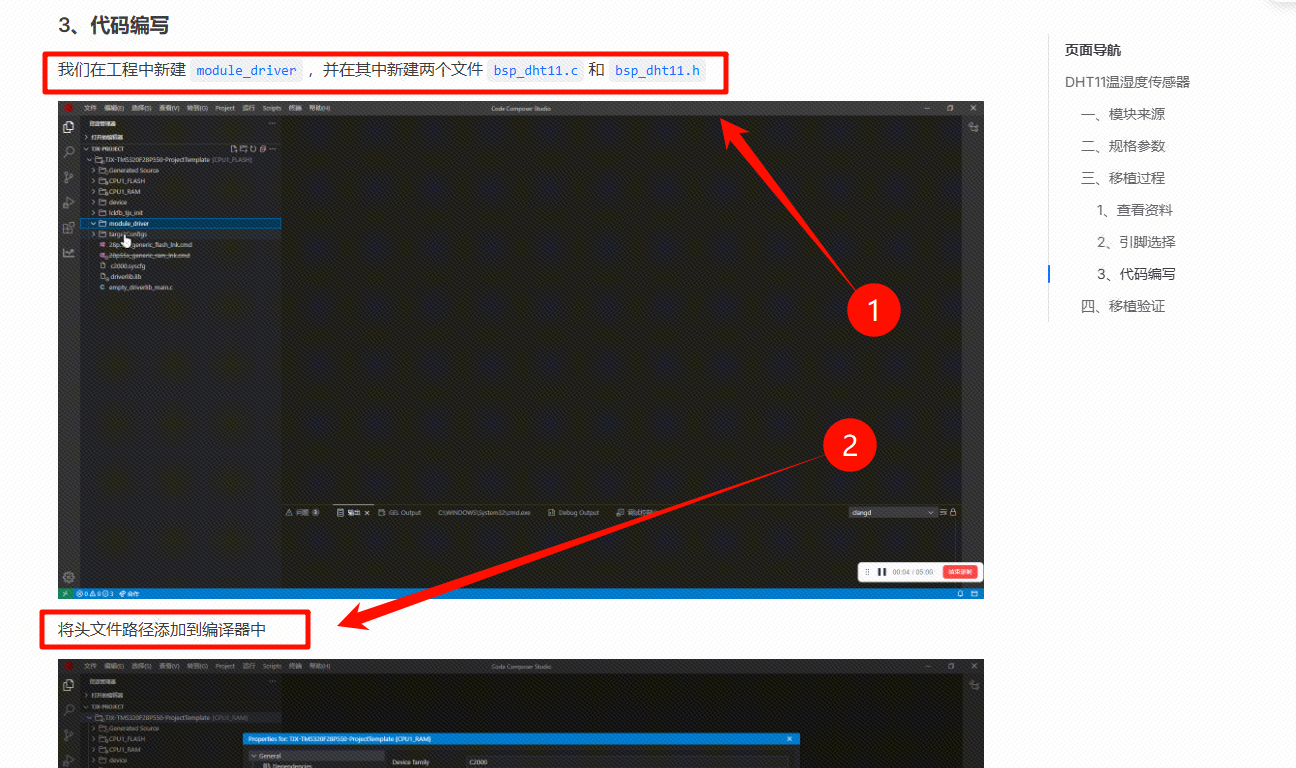
3、代码编写
我们在工程中新建 module_driver ,并在其中新建两个文件 bsp_dust.c 和 bsp_dust.h,并且将头文件路径添加到编译器中。
在文件bsp_dust.c中,编写如下代码。
c
/*
 * 立创开发板软硬件资料与相关扩展板软硬件资料官网全部开源
 * 开发板官网:www.lckfb.com
 * 文档网站:wiki.lckfb.com
 * 技术支持常驻论坛,任何技术问题欢迎随时交流学习
 * 嘉立创社区问答:https://www.jlc-bbs.com/lckfb
 * 关注bilibili账号:【立创开发板】,掌握我们的最新动态!
 * 不靠卖板赚钱,以培养中国工程师为己任
 */
#include "bsp_dust.h"
#include "stdio.h"


/**********************************************************
 * 函 数 名 称:ADC_GET
 * 函 数 功 能:读取一次ADC数据
 * 传 入 参 数:无
 * 函 数 返 回:无
 * 作       者:LCKFB
 * 备       注:LP
**********************************************************/
static uint16_t ADC_GET(void)
{
    uint16_t gAdcResult = 0;
    uint16_t timeOut = 200;

    // 通过软件触发 SOC 转换
    ADC_forceMultipleSOC(Module_ADC_BASE, Module_ADC_FORCE_SOC0);
    // 等待ADC总线处理完成
    while(ADC_isBusy(Module_ADC_BASE) && timeOut--)
    {
        delay_us(5);
    }

    if(!timeOut)
    {
        lc_printf("ADC_GET Failed!!!\r\n");
        return 0;
    }

    // 获取通道的转换结果
    gAdcResult = ADC_readResult(Module_ADC_RESULT_BASE, Module_ADC_SOC0);
    // lc_printf("gAdcResult = %d\r\n",gAdcResult);

    return gAdcResult;
}
/******************************************************************
 * 函 数 名 称:Get_ADC_Value
 * 函 数 说 明:对ADC值进行平均值计算后输出
 * 函 数 形 参:num采集次数
 * 函 数 返 回:对应扫描的ADC值
 * 作       者:LCKFB
 * 备       注:无
******************************************************************/
uint16_t Get_ADC_Value(void)
{
    uint16_t Data = 0;
    int i;

    for(i = 0; i < SAMPLES; i++)
    {
        Data += ADC_GET();

        delay_ms(2);
    }

    Data = Data / SAMPLES;

    return Data;
}

uint16_t Filter(uint16_t m)
{
    static uint16_t flag_first = 0, _buff[10], sum;
    const uint16_t _buff_max = 10;
    int i;

    if (flag_first == 0)
    {
        flag_first = 1;
        for (i = 0, sum = 0; i < _buff_max; i++)
        {
            _buff[i] = m;
            sum += _buff[i];
        }
        return m;
    }
    else
    {
        sum -= _buff[0];
        for (i = 0; i < (_buff_max - 1); i++)
        {
            _buff[i] = _buff[i + 1];
        }
        _buff[9] = m;
        sum += _buff[9];

        i = sum / 10.0;
        return i;
    }
}
/******************************************************************
 * 函 数 名 称:Read_dust_concentration
 * 函 数 说 明:读取粉尘浓度
 * 函 数 形 参:粉尘浓度
 * 函 数 返 回:0成功 其他失败
 * 作       者:LCKFB
 * 备       注:无
******************************************************************/
char Read_dust_concentration(float *d_dat)
{
    uint16_t value = 0;

    GPIO_writePin(GPIO_LED1, 0);

    delay_us(280);
    value = Get_ADC_Value();
    delay_us(40);

    GPIO_writePin(GPIO_LED1, 1);

    delay_us(9680);

    value = Filter(value);
    *d_dat = 0.17f * value - 0.1f; //转换公式

    return 0;
}在文件bsp_dust.h中,编写如下代码。
c
/*
 * 立创开发板软硬件资料与相关扩展板软硬件资料官网全部开源
 * 开发板官网:www.lckfb.com
 * 文档网站:wiki.lckfb.com
 * 技术支持常驻论坛,任何技术问题欢迎随时交流学习
 * 嘉立创社区问答:https://www.jlc-bbs.com/lckfb
 * 关注bilibili账号:【立创开发板】,掌握我们的最新动态!
 * 不靠卖板赚钱,以培养中国工程师为己任
 */

#ifndef __BSP_DUST_H__
#define __BSP_DUST_H__

#include "tjx_init.h"

// 采样次数
#define SAMPLES         5

char Read_dust_concentration(float *d_dat);

#endif四、移植验证
在 empty_driverlib_main.c 中输入代码如下:
c
#include "driverlib.h"
#include "device.h"
#include "board.h"
#include "c2000ware_libraries.h"

#include "tjx_init.h"

#include "bsp_dust.h"

void main(void)
{
    /* The initialization code automatically generated by CCS [Start] */
    Device_init();
    Device_initGPIO();
    Interrupt_initModule();
    Interrupt_initVectorTable();
    Board_init();
    C2000Ware_libraries_init();
    EINT;
    ERTM;
    /* The initialization code automatically generated by CCS [End] */

    lc_printf("\r\n= = = = = = = = = = = = = = = = = = = = = = = = =\r\n");
    lc_printf("\r\n=== Welcome to use the LC-TJX-TMS320F28P550 ====\r\n");
    lc_printf("\r\n============== www.lckfb.com ===================\r\n");
    lc_printf("\r\n============== wiki.lckfb.com ==================\r\n");
    lc_printf("\r\n= = = = = = = = = = = = = = = = = = = = = = = = =\r\n");

    while(1)
    {
        float value = 0;
        Read_dust_concentration(&value);

        lc_printf("Dust Concentration = [%d.%d]\r\n", (int)value, (int)(value*100)%100);

        // RGB的B灯亮起,G灯熄灭
        GPIO_writePin(RGB_B, 0);
        GPIO_writePin(RGB_G, 1);
        delay_ms(300);

        // RGB的G灯亮起,B灯熄灭
        GPIO_writePin(RGB_B, 1);
        GPIO_writePin(RGB_G, 0);
        delay_ms(300);

        // RGB的B和G都熄灭
        GPIO_writePin(RGB_B, 1);
        GPIO_writePin(RGB_G, 1);
        delay_ms(300);
    }
}

__interrupt void INT_Debug_Serial_RX_ISR(void)
{
    //清除接收中断标志位
    SCI_clearInterruptStatus(SCIA_BASE, SCI_INT_RXFF);
    //清除中断标志位
    Interrupt_clearACKGroup(INTERRUPT_ACK_GROUP9);
}【代码下载】
- 跳转到
下载中心去下载CCS模块移植代码:【点击跳转🚀】